Growing French & Italian Ranunculus From Seed
- Barrhill Blooms

- Jan 7, 2023
- 8 min read
Updated: Feb 24, 2023
What even are ranunculus?
& why am I even raving about them?!
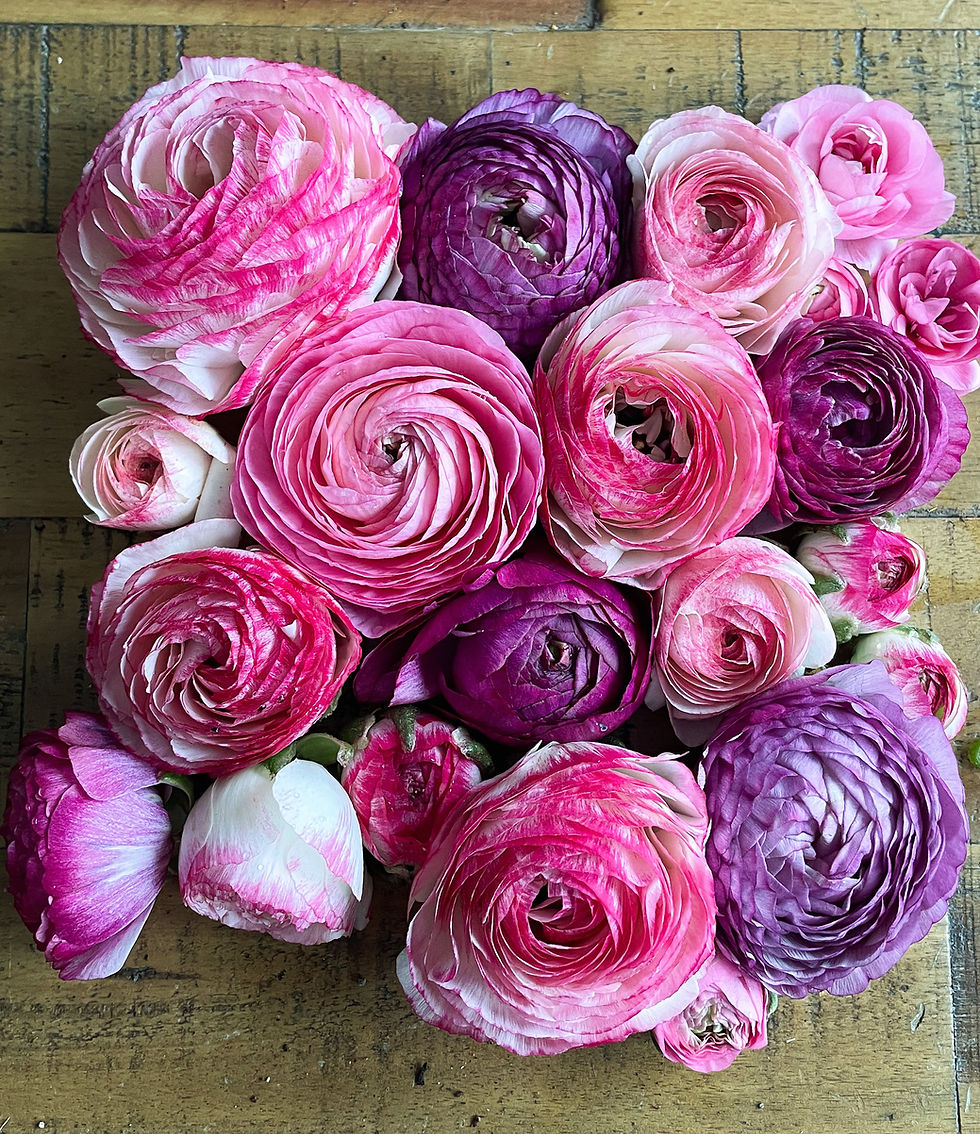
Ranunculus are often known as the 'Rose of Spring' These stunning flowers bloom in spring and have layers upon layers of ruffly petals in a stunning range of colours from creams, to pastel lemon to salmon to deep purples. The beautiful flowers have tall straight stems and can last up to 2 weeks in the vase as a cut flower. I love them! Ranunculus are quiet possibly my number 1 flower (it's a close contest between them, stock and asters) Want to know how to grow them? then read on.
How to grow - The Basics
This is my first time growing ranunculus from seed too – so I have collated all the advice from the both the Italian and French breeders, experimented with germinating and growing the seeds myself so now I'm passing this information onto you.


1. Prepare your seed plug trays with high quality seed raising mix or prepare your soil blocks.
2. Create a really small divot into the surface - or if using a soil blocker the seed dibber is the perfect size. Carefully sow your seeds into the divot (tweezers are perfect for picking up ranunculus seeds)
3. Cover very lightly with a tiny sprinkle of dirt (like I'm talking only just covered), and then sprinkle with vermiculite* Ideal temperature for germination is between 16-18 degrees. Do not allow seed trays to dry out, ideally cover with a humidity dome (not as fancy as it sounds, takeaway tub, or mini greenhouse lid)
4. Don't forget to label! and now be patient - Initial germination can be slow, taking 2-3 weeks for the 1st seedling to pop up, and up to 6 weeks for all the seedlings to emerge.
5. Transplant seedlings into their final growing place when 3-4 true leaves have grown – do not allow them to become root bound as this will significantly reduce your overall plant quality, and ultimately - corm production (This reason alone I will grow mine in soil blocks). Ranunculus can tolerate light frosts. However anything colder then -5 or sustained cold spells covering is recommended.
6. Regular feeding even throughout winter and spring is essential. At the absolute minimum a weekly seaweed emulsion is ideal. However a spray of fish hydrolysate and Bioag Fulhumix is perfect for really getting the best out of your plants. (I highly recommended Seacliff Organics Tri-kelp seaweed powder, along with our other fantastic range of Seacliff Organics fertilisers and sprays).
*I use vermiculite in all my seed starting. I actually put mine in the nutribullet (just don't tell my partner haha) to make it even finer. Vermiculite lets light through but helps maintain moisture around the seed.
Note:
The breeders have advised to expect the following germination rates
French - 90%
Italian - 80%
How To Grow - My Own Notes
Naturally I set about sowing and germinating the seeds myself and rigorously testing the breeders advice - As I want to make sure no one is left behind and we all have buckets of ranunculus come spring time.
Temperature - How crucial is the temperature? - Ranunculus are cool flowers, so I wondered the same thing. My research (a good old google and reading an insane amount of articles, and technical growing guides) actually suggested best temperature for germination is actually between 10-14 degrees, and the breeders recommend 16-18. Naturally I had to investigate. I sowed 2 lots of seeds:
1 - After sowing I placed in the coolest area of my house, which happens to be my clawfoot bath tub in my ensuite, temperatures fluctuated between 18-22.
2 - Temperature controlled seed germination chamber, aka the wine fridge with grow lights - I set the temperature in my fridge to 14 degrees, grow lights on for around 10hours.

1st Image - Ranunculus sown into Mini 4 soil blocks, in mini greenhouses placed in my bathtub (coolest place in my house)
2nd Image - Temperature controlled seed germination chamber - My wine fridge, set to 14 degrees, with grow lights (on for approx 10hours a day), seeds sown into micro20 soil blocks in take away tubs
Was they a difference?
Yes!
The seeds in my bath tub took 2 weeks to see the first seedlings, and have been a little bit more sporadic to germinate over a longer period of time (taking 4 weeks) - but ultimately I still had good germination, just slower.
Seeds in my wine fridge the first germination was within 12 days, and overall germination was a lot quicker and a lot better - the seedlings are growing a lot greener and healthier too.
The thing to takeaway from this is ultimately even in warmer temperatures your seeds will still germinate and grow, but might just take a bit longer. It's not remotely necessary to rush out and buy a fridge/grow lights (although its benefits have been huge). Do bear in mind I've sown these in January, it's almost too early - the best time for sowing is March - June (or up to July in the South Island). During these months it's obviously colder which = better germination. I should also add the seedlings in the bath tub did not have grow lights, how much this has influenced the germination rates - I don't know.
To cover or not to cover - I both surface sowed, and then sowed and covered very lightly with dirt and in both scenarios sprinkled with vermiculite, always. The lightly covered seeds germinated better.

As you can see the difference in germination and seedling quality is noticeable. Seeds on the right are the warmer bath tub, no grow light seedlings; ones on the left are the wine fridge, with grow light seedlings.

Nitty Gritty on growing Ranunculus
It may take a little bit of trial and error on all our sides to perfect the timing, temperature & technique for growing ranunculus from seed as it's pretty new for all of us. The one thing that is stable however is – ranunculus are cool flowers, needing a nice long cool growing period over winter to establish big healthy plants. Once daytime temperatures regularly tickle over 24-25 degrees the plants will begin yellow and die down - as heat disrupts the photosynthesis process in the plants (and which point you can harvest the corms) - My plants were still trying to flower at the beginning of December this year!!!
We (Barrhill Blooms) are based in Mid Canterbury in the South Island and I plan to sow my main crop in early autumn around the middle of March to beginning of April (depending how well organised I am, we all know how slippery time can be!). This is to allow time for my plants to be well established before the winter chill sets in. Depending on where you are located adjust this accordingly (If you are in warmer, more humid area a later sowing maybe more ideal - when the temps & humidity are a bit cooler - as your plants may rush to flower before the winter cool sets in leading to stunted flowers). Plants will flower around 3-4months after being sown.
My plants were super hardy last year, surviving regular frosts, even the occasional -5 and a light dusting of snow with no protection. However I did notice the plants that I had under a small microclimate tunnel grew a lot bigger, and flowered a lot earlier than those with no protection (my micro tunnel was not expensive or fancy – I just bought it from Mitre10 ‘Grow it’ Tunnel).

Pests and Problems
Ranunculus do not like heat or humidity – and one of the biggest challenges is powdery mildew and botrytis. Luckily for me in the South Island we lack that humidity that PM & Botrytis thrives in, so it’s not a big issue for us (I honestly believe SI NZ has the best Ranunculus growing climate!) – However if you are in a region that these are an issue its important to already have a strategy in mind and get on top of them as soon as you spot it.
Again I also feel lucky enough to say that our cold frosty winters kill off the all the pests – so by the time aphids find us our ranunculus are just about done for the season! However this also comes down to soil health. I have noticed a substantial difference in my pest pressure in flower patches between those areas that I have amended the soil and regularly feed my plants, compared to the areas I haven’t! (No surprises the areas I haven’t amended I’m having a few small issues – and those I have amended are still pest free, even my roses!). However again as soon as you see the first sign of pests jump into your pest management strategy as soon as you can! (be this beneficial bugs, organic sprays etc).

Why Seeds?
You may actually be wondering why we even have to grow French & Italian ranunculus from seed, and not just import corms which seem easier and less faffing (although - I had major disasters with corms rotting, I actually don't think seeds are any more work, if anything, less as I'm not worrying about a corm that could rot).
The long and short of it is a lovely virus called Xylella fastidiosa was found in Europe. It was killing swathes of century old olive groves, grape vines and other crops. Unfortunately ranunculus corms was found to be a carrier of this virus and in 2017 MPI essentially banned the importation of corms to protect our biosecurity in NZ. This meant the end of all these beautiful flouncy varieties for us in NZ - until now! The French and Italian breeders have now made the seeds commercially available for us and I couldn't be any happier! The seed is not a carrier of this virus. In fact both the Italian and French breeders sow the seeds themselves for corm production, which they then grow to increase their corm stock for export. But this also means the seeds are only available to us in small quantities.
A further bonus is growing from seeds is a more cost effective option, 20 seeds costs substantially less then 20 corms!
Will I get corms from seed grown plants?

Yes!! Check out this monster corm I got last year from a seed grown ranunculus! I can likely split this best at least 3 times for next winter (and grow ranunculus from corms as well as seeds).
Ranunculus are amazing, they will grow, flower, set seed and develop viable corms all in the first growing year - This is why ranunculus (and dahlia) are such hungry plants, in addition to growing beautiful flowers above grown, they are working away below ground and growing big juicy corms. At the end of spring/early summer when your plants die down it is possible to harvest your corms and store them until autumn and you can grow your Italian & French ranunculus from corms the year after (and seed again of course). This is also why it's super important to feed your plants during the winter.

So there we go, I have browsed, scoured, read, collated and experimented - and now gathered all the advice I can find on growing Ranunculus from seed – I do hope you have found it helpful! But also advise you to do your own research, as these are new to me too. I absolutely cannot tell you how excited I am to bring these seeds to NZ and have them available for everyone!
Don't forget to tag me all your photos as your flowers bloom in spring
Happy Growing - Kate xx


The article presents a thorough investigation into the nuances of germinating ranunculus seeds. It's intriguing how much temperature affects seed development, yet the results from different environments raise questions about optimal conditions. The success https://caxino.kiwi/ experienced in a Caxino suggests that even non-standard setups can yield positive outcomes, highlighting the adaptability of these flowers.
Great information thank you! Do they grow true from seed or are seed grown ranunculus new varieties?